Enabling CDN
- Configure your own "custom" CDN
- Requesting a CDN "Share"
- Verifying if the CDN is working and active
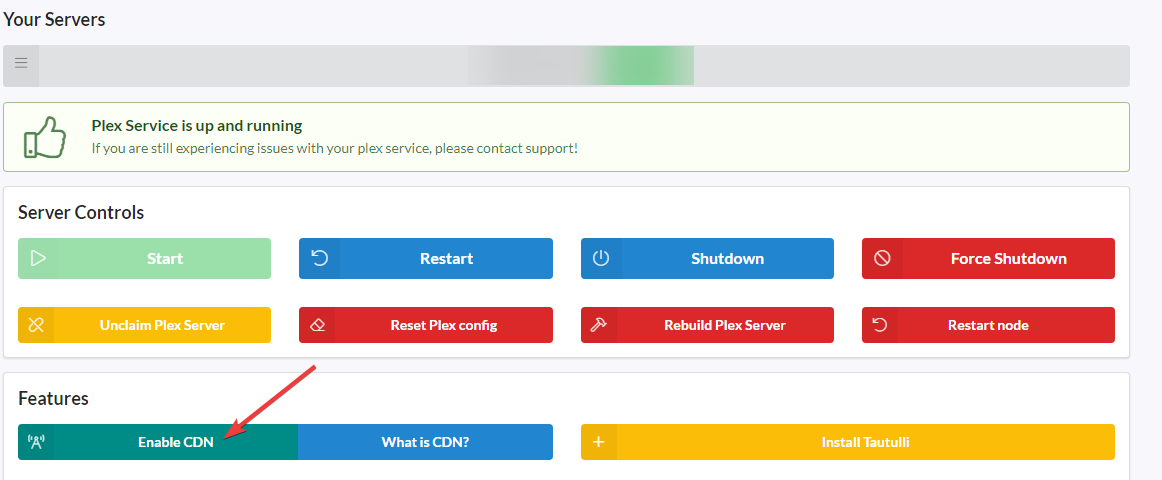
- Enable CDN
Configure your own "custom" CDN
Getting a domain
First you need a domain. For example Godaddy
Register on Cloudflare
Create an account on cloudflare.com and add your newly purchased domain. Read the article on how to do this here
Creating certs with Cloudflare
Step 1. Navigate to the Crypto page on Cloudflare
Log in to www.cloudflare.com and click the "Crypto" icon. You might need to click your domain name first.
Step 2. Change your SSL to "Full (strict)"
The change will be saved automatically!
Step 3. Create certificate"
Under Origin Certificates - Click Create Certificate
Step 4. Fill out the form
After clicking "Create Certificate", a popup will open.
- Select "Let Cloudflare generate a private key and a CSR"
- Make sure to select "RSA"
- Leave list hostnames default to what is preselected
- For certificate expiration close anything from 1 year to 15 years depending on if you want
Step 5. Generate the certs
Now click next, and you will be given your certificates.
- Copy the Origin certificate to text editor and save it with the name chain.pem
- Copy the Private key to a text editor and save it with the name privkey.pem
- Make a copy of chain.pem and name it fullchain.pem
Step 6. Get the root cert
Click this link https://support.cloudflare.com/hc/en-us/articles/115000479507#h_30cc332c-8f6e-42d8-9c59-6c1f06650639
Find the "Cloudflare Origin CA — RSA Root" accordian. Then click it to expand, and copy the content.
Then open fullchain.pem and paste the contents under -----END CERTIFICATE-----
Providing us with the needed data
Head over to settings - CDN Host page. You will be presented with a form asking for some data.
Cloudflare data
Login to cloudflare.com and click your domain.
In the "overview" tab, scroll down and find the Zone ID. Copy this and add it to the form.
Click the "get your api key" button underneath the "account ID" box. Scroll down and click "view" on "Global api key". Copy this and add it to the form. The Cloudflare E-mail is the email you logged in with. Add this to the form.
Domain data
Enter your domain in the "Domain" field. Do not include http, https, or www.
Example: bestdomain.net
.pem file content
Open the chain.pem, fullchain.pem and privkey.pem in your favorite editor.
Copy ALL of the content and copy into their respective text area in the form.
When you're done, click "Save information"
That's it!
You may head over to the dashbaord, and the new CDN will appear in the CDN kronos dropdown list!
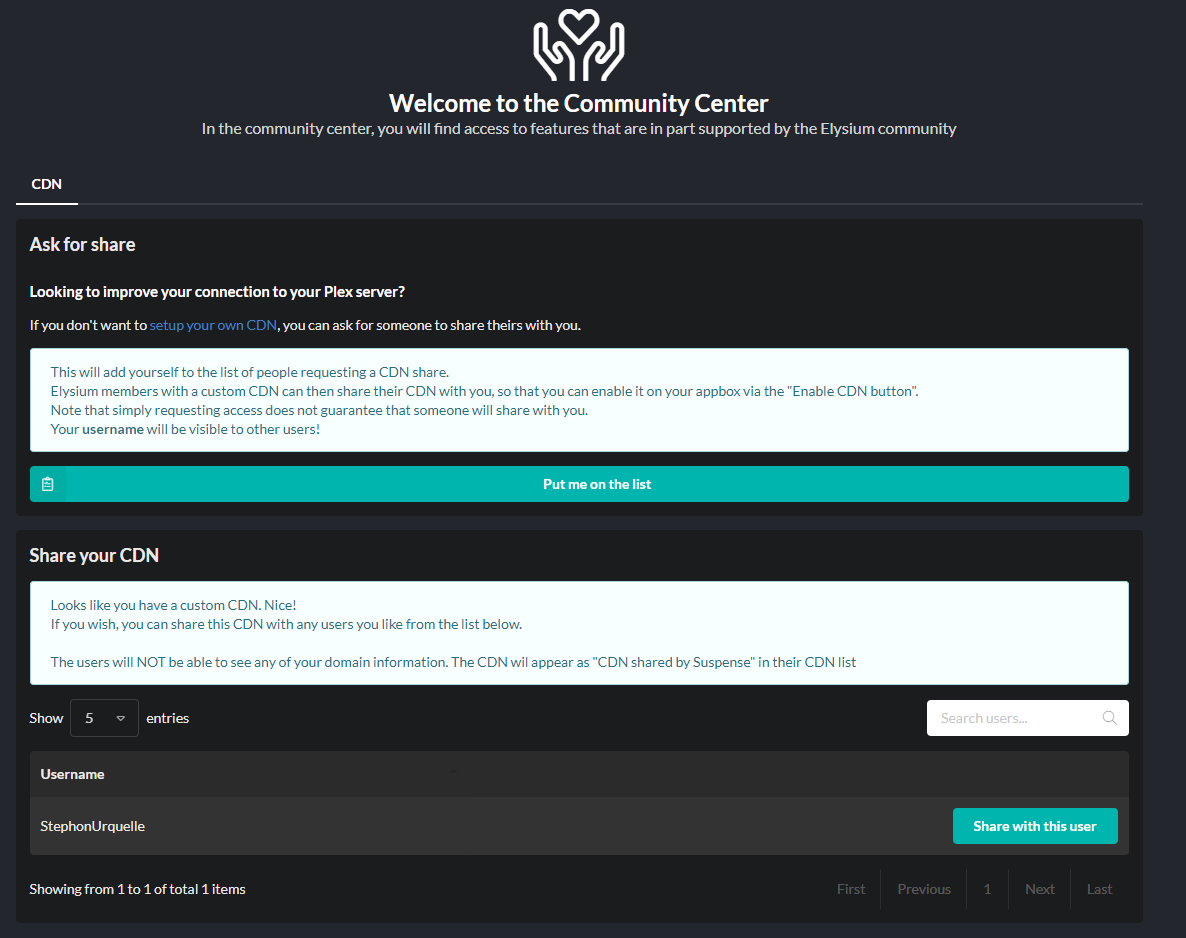
Requesting a CDN "Share"
If you feel intimidated by the "custom CDN" setup guide, or just want to see if you can save some time, we offer a community based feature called "CDN Share"
This allows other customers with a custom CDN to share their CDN with you, so that you can enable the CDN on your server via your own dashboard.
Head over to the community center and read more about this feature to sign up for a share!
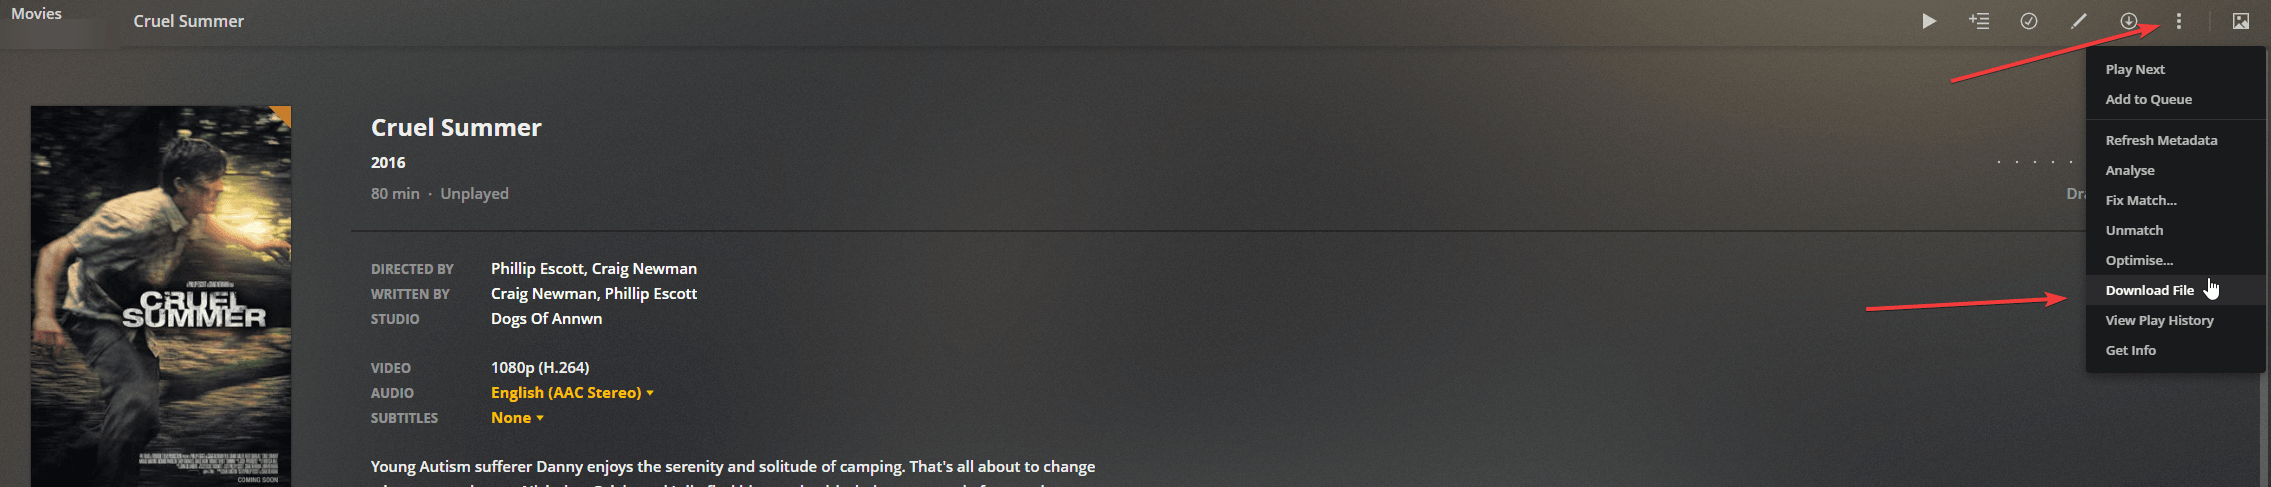
Verifying if the CDN is working and active
Once the CDN is enabled, you might want to verify if indeed it is in effect.
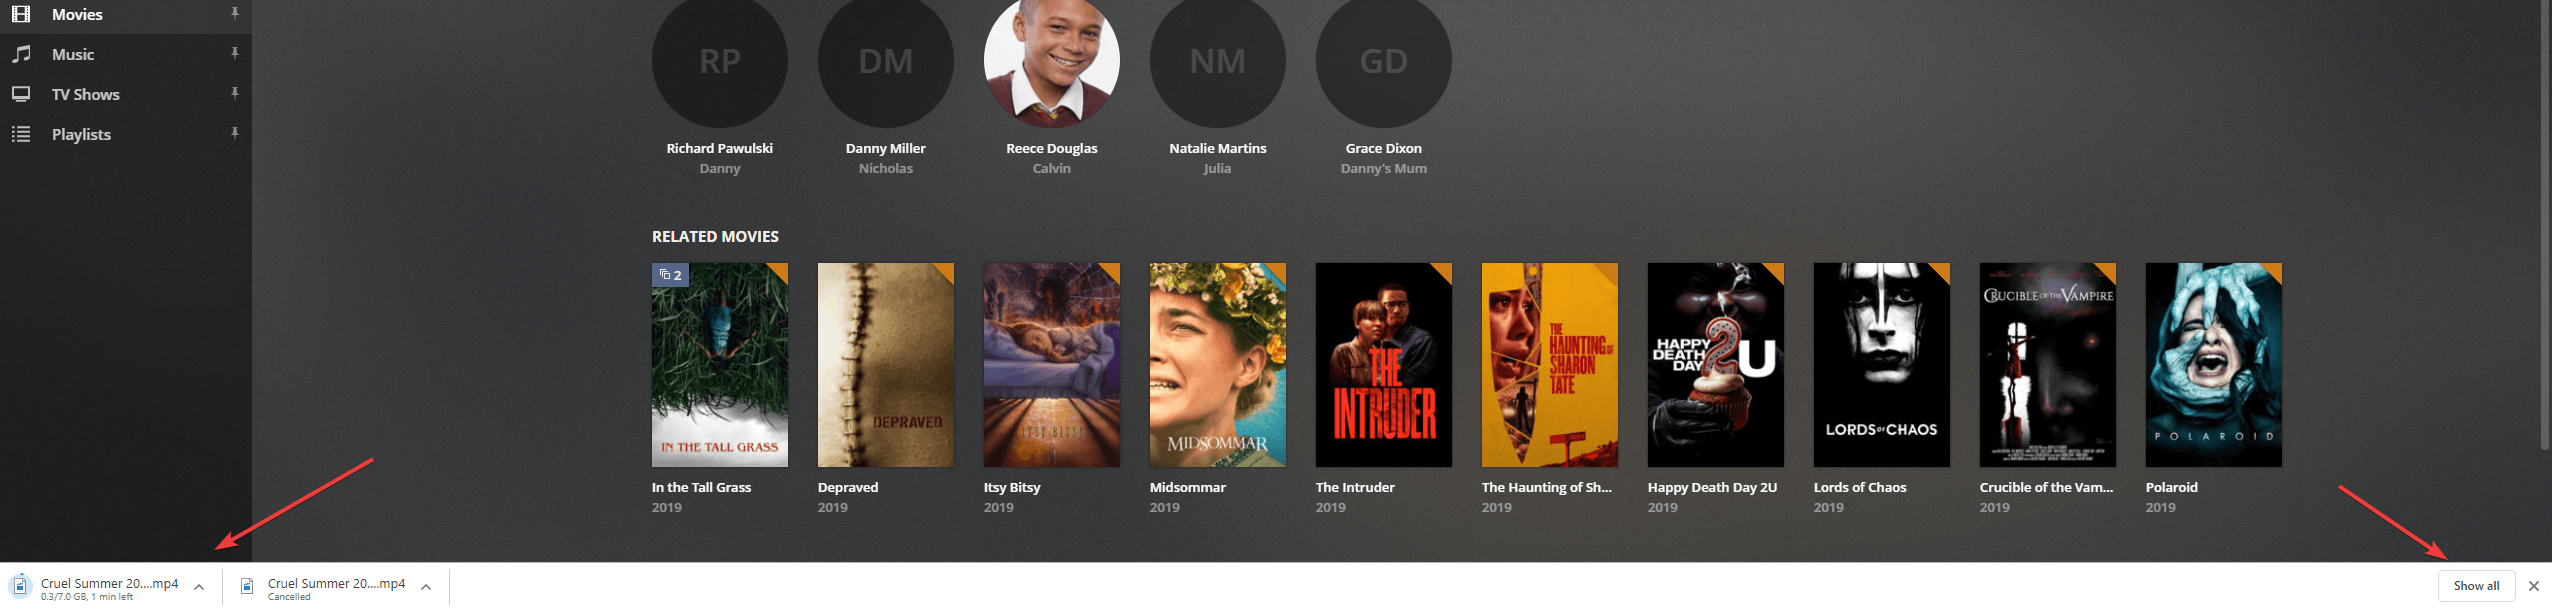
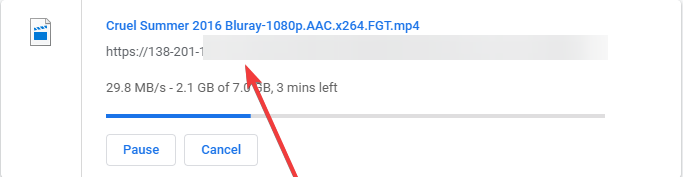
Do this, by downloading something from your plex server, and verify the domain location the download originals from.
If the CDN is active, you will see your domain name, in the download URL
Enable CDN
Enable one of our official CDN nodes, we recommend Finland/AMS from our list

Confirm the CDN is actually working, after enabling
If you have enabled one of the provided CDNs, you can easily confirm if the CDN is effective after enabling, by following these steps.
1. Verify on your appbox dashboard, that the CDN is enabled, as well as your "Server ID".
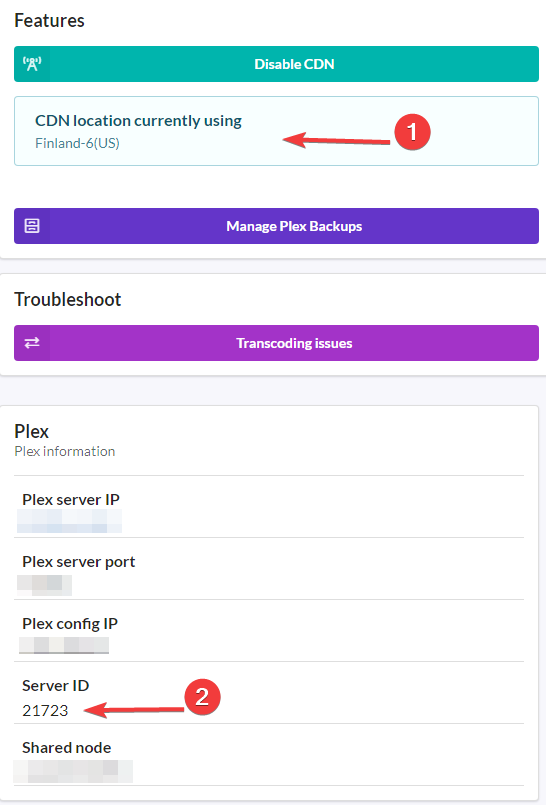
2. Next, open your web browser and enter, https://serverID.tixehosting.com - Remember to use your own server ID, and not the one in this image!.
If you see plex open when entering this in your browser, then the CDN is properly enabled. If you get an error, submit a ticket on your dashboard!
3. Verify remote access on your appbox is disabled, to force the CDN to be used.
Login to https://plex.tv and click the settings icon, top left
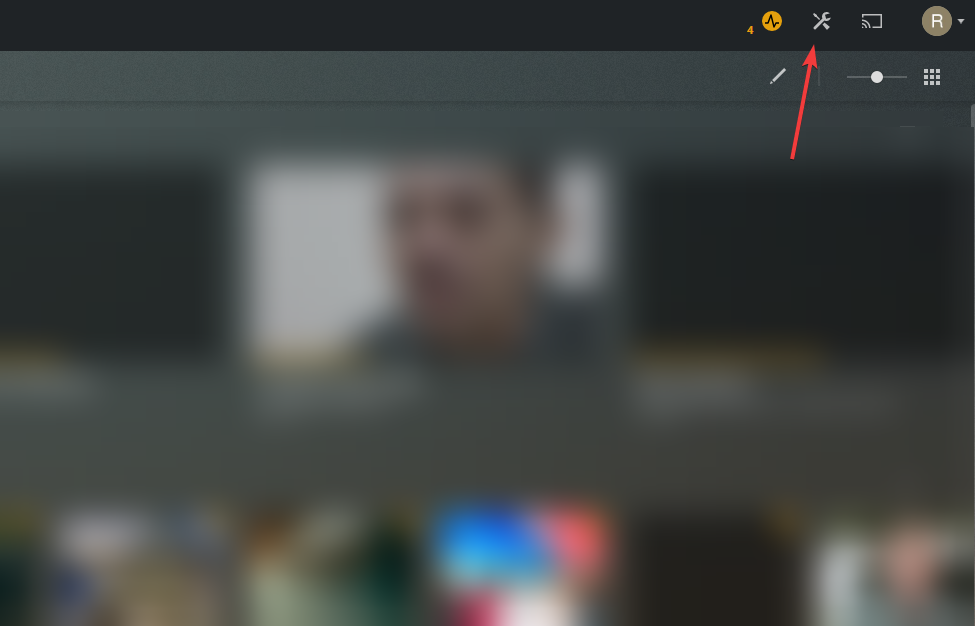
4. Select "Remote access" and click "Disable"

CDN is now forcefully enabled